How to integrate Midjourney API into Make.com
Posted on 2024/2/7 by GoAPI
Hi guys!
Getting started with Make
Now a bit of terminologies for Make.com:
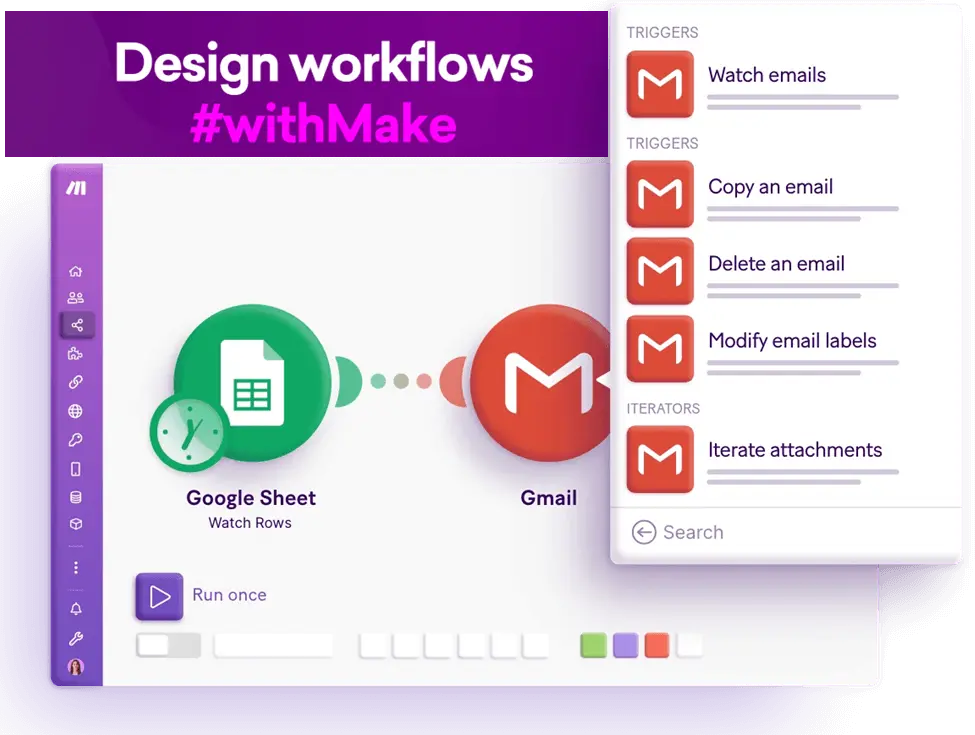
Apps / Services refers to an application or a third party service - Make can apparently connect with more than 1500 apps and services.
Scenario refers to an automated workflow or process that you can build using Make. It defines how different apps communicate and work together. Typically, a scenario does something with data – it runs automatically when it receives data from one app (ex.when you add a new item to a Notion).
Connection allows Make to communicate with an app/service. When adding an app/service to a Make, you may have to create a connection between Make and that app/service to retrieve or send the selected data.
Creating a simple Scenario
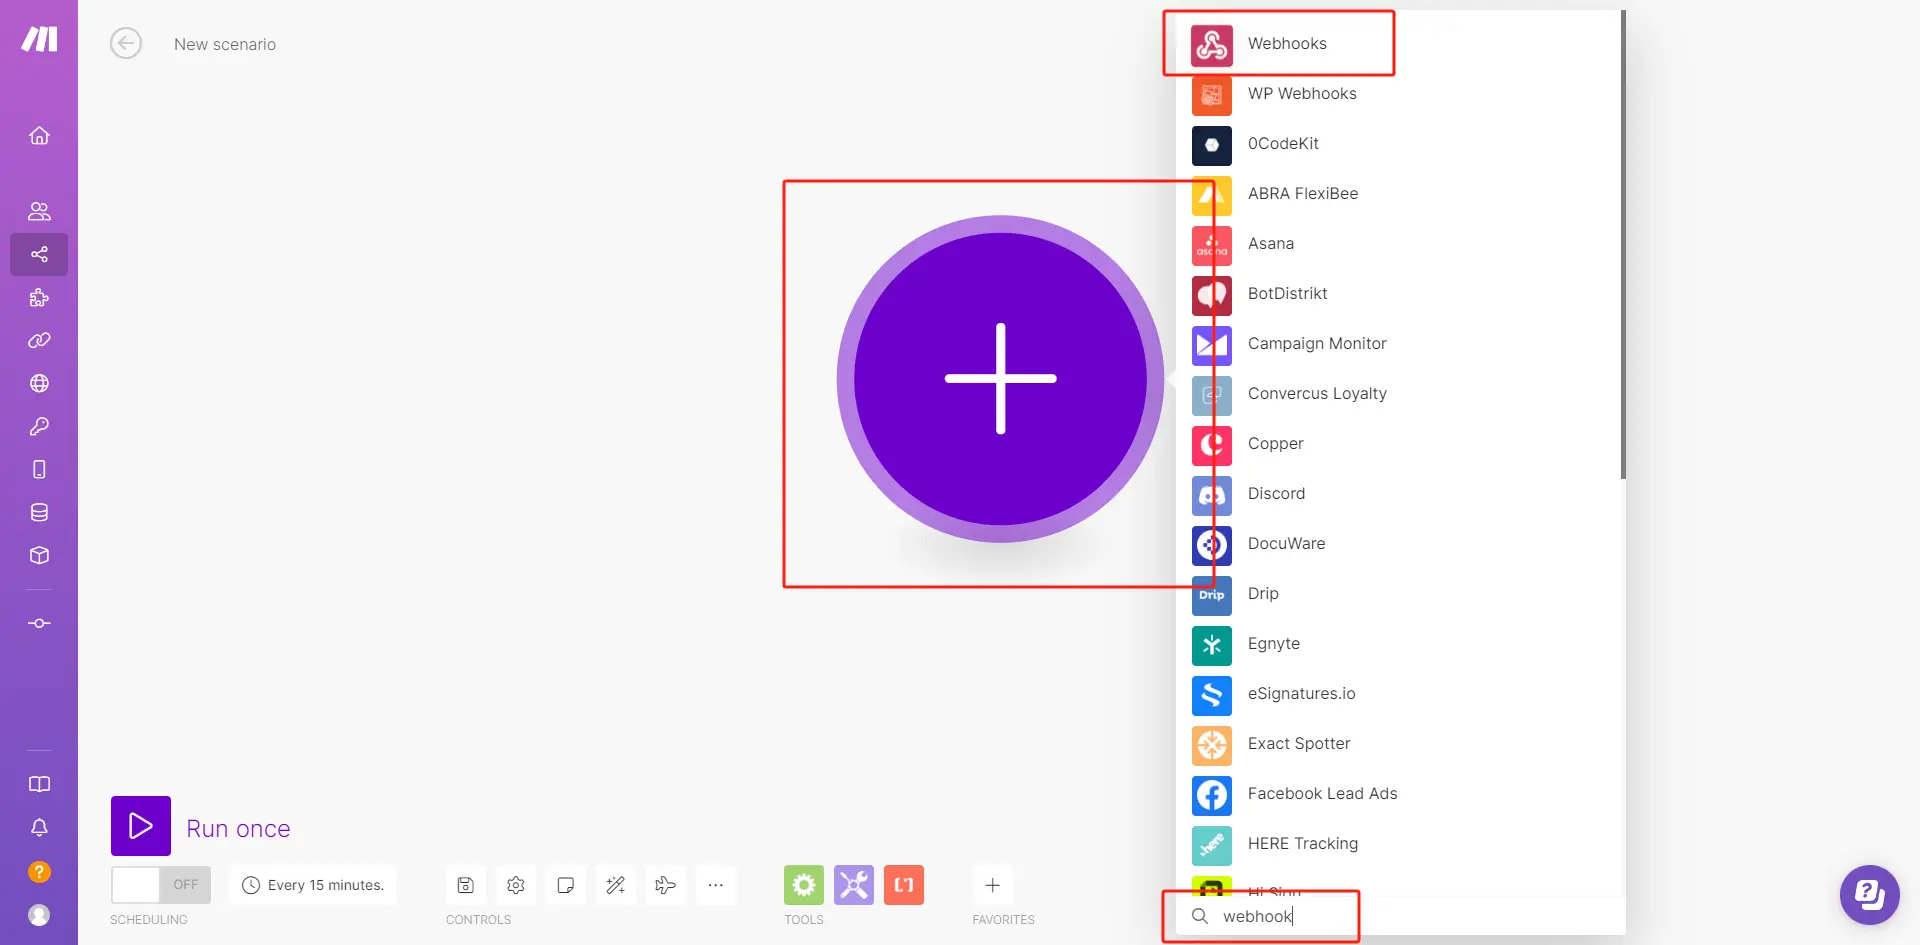
Now let's click on the 'Create a new scenario' button on the top right.
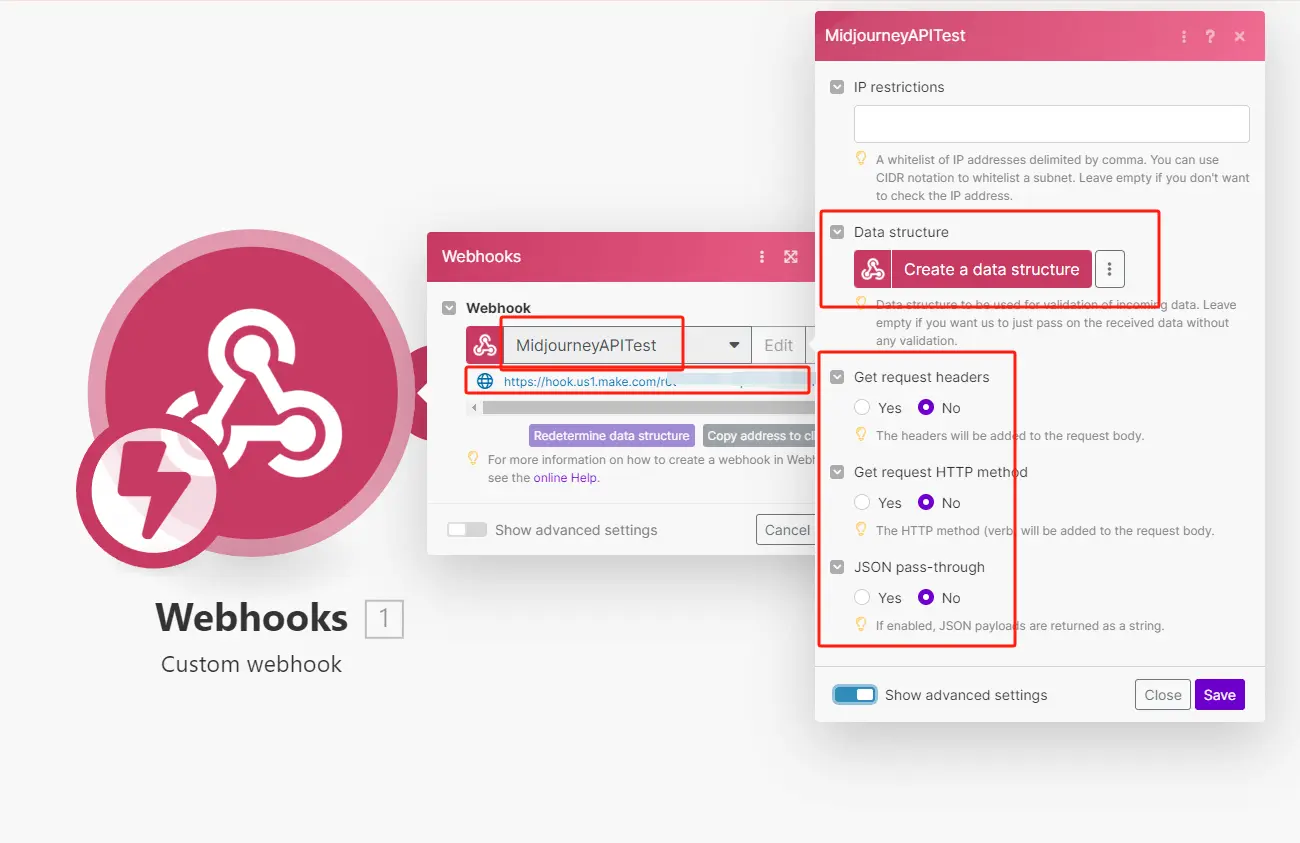
Once inside, click on the purple 'plus' icon and a list of many different apps / services will appear. We will search for 'Webhooks' as it will be the starting the point of our workflow, and select 'custom webhooks' to continue. Below is how I am configuring the webhook for now with no custom settings and no created data structure.
Next, I'm going to click on the plus sign besides the webhook module icon to added another module, searching for 'Mailgun' since I have a Mailgun account and we are going to try and send an email once the Webhook receives an feedback from the Midjourney API.

Once the Mailgun module set up is completed, press shift+s to save the Scenario, and press the 'run' button on the left of the screen to run the Scenario.
Now, let's copy the previously provided webhook address from the Webhook module from Make, and insert it into a simple imagine prompt with our Midjourney API, the cURL is shown below:
  curl --location 'https://api.midjourneyapi.xyz/mj/v2/imagine'
  --header 'X-API-Key: enter your API Key here'
  --header 'Content-Type: application/json'
  --data '{
      "prompt": "a cute puppy",
      "skip_prompt_check": false,
      "process_mode": "fast",
      "aspect_ratio": "",
      "webhook_endpoint": "enter your webhook address from Make here",
      "webhook_secret": ""
  }'
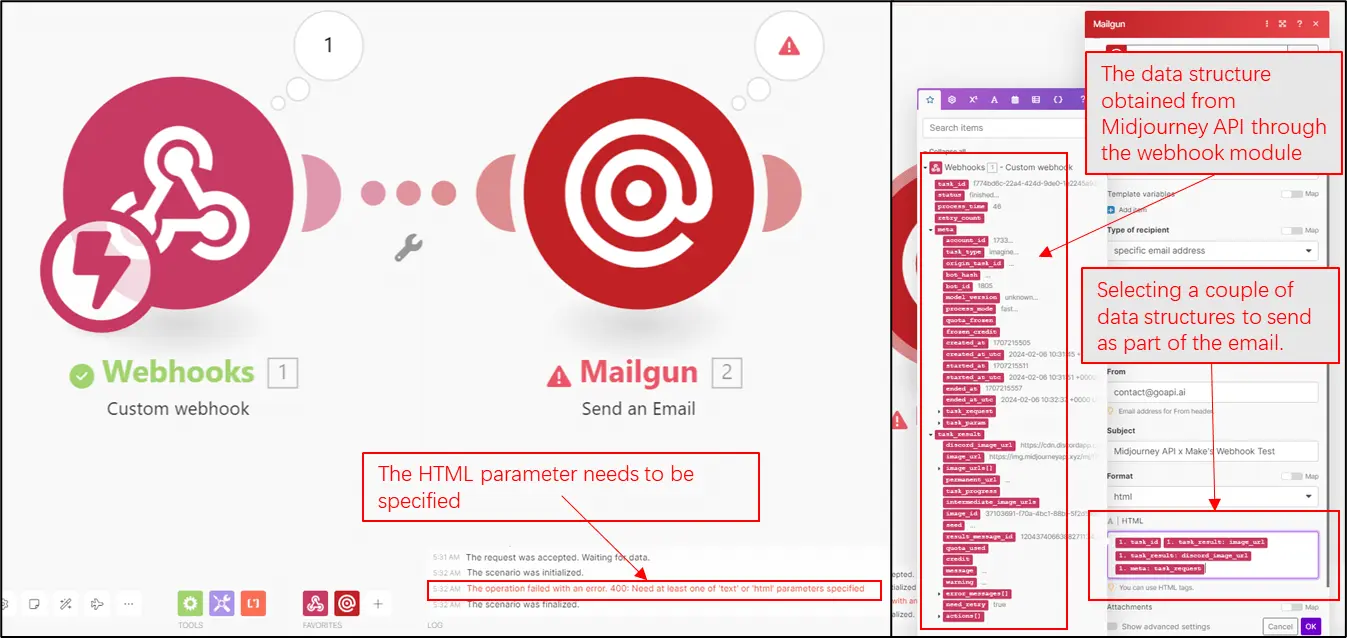
When the Midjourney task is completed, it seems like we have received an 400 error in Make saying that the HTML parameter needs to be specified. The screenshot below on the right shows the data structure obtained in the webhook module sent by the Midjourney API, and how we can correct the mistake by selecting a couple of data structures to be sent through email. In this case, we chose taskID and several image_url to be sent.
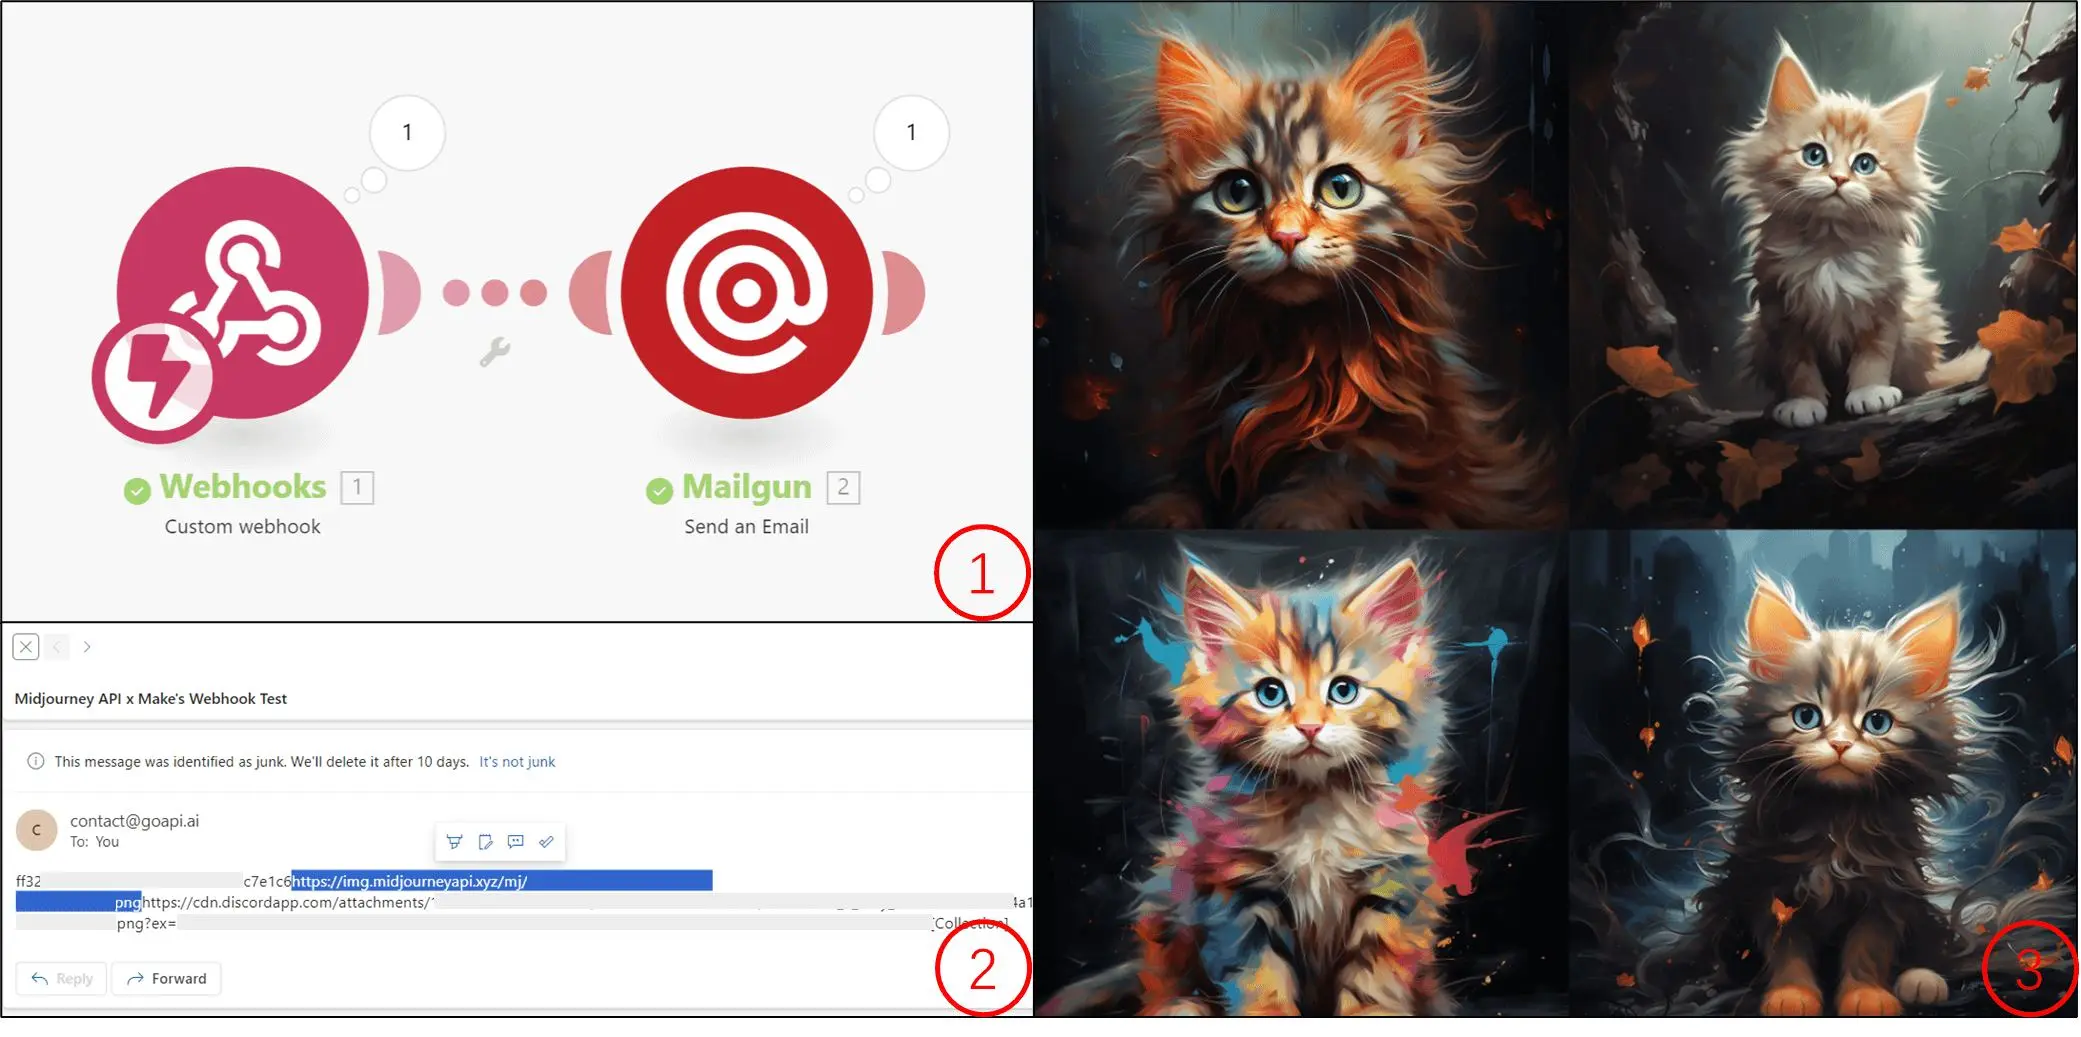
Once the debug action has been performed, we will save and run the Scenario again, and submit another task throught the Midjourney API (this time we will use 'a cute cat' as a prompt). And viola, the Make scenario seems to be working! We will then go to our inbox (be sure to check for spam), find the received email, copy the image url into the browser, we should be able to see the Midjourney generated image!
Conclusion
And that is it for a brief introduction on how to integrate Midjourney API into Make's automation workflow creation platform! If you've enjoyed the content and would like to try out GoAPI's Midjourney API, please click below to get started!